Build an adhesive-release test that answers your production question
An adhesive-release test is useful when its material, contact conditions, separation method and acceptance observations represent the intended application. Pressing an arbitrary piece of tape onto a coated plate can demonstrate a visible effect, but it cannot establish universal non-stick performance. A practical test plan makes the question and its limits explicit before samples are compared.
For industrial rollers and coated parts, the target may be less residue, more consistent separation, easier cleaning or stable behaviour after repeated use. Decide which of these outcomes matters to the process. Then agree a screening method with the coating supplier and the responsible engineer. This article provides a planning framework; it does not assign a certified test method or a guaranteed result to Furui's coatings.
Step 1: define the decision and comparison baseline
Write the decision the test will support in one sentence. For example, the team may need to decide whether a candidate surface deserves a roller trial using a particular label material. That is a narrower and more defensible objective than proving that the coating works with all adhesives. Define the baseline surface and explain why it represents the current production problem.
Keep feasibility screening separate from production acceptance. An inexpensive coupon experiment can eliminate an unsuitable candidate or identify an interesting direction. It may not reproduce roller curvature, web tension, heat transfer or cleaning access. Record what remains to be tested after the coupon stage so a promising result does not become a broader claim as it moves between purchasing, engineering and management.
Step 2: identify the adhesive and contacting face
Use the actual production tape, label, transfer material or adhesive system where practical. Record its product reference, batch and storage history relevant to the trial. Explain which face contacts the coating and whether any backing or intermediate layer remains in place. Avoid treating two visually similar tapes as equivalent without checking their identities.
If the actual material is unavailable, identify the substitute and the reason it was chosen. Label the results as a substitute-material screen. The next step should include confirmation with the production material rather than an assumption that similar appearance predicts similar release. Retain a sample of each contacting material so unexpected results can be investigated after the initial test session.
Step 3: identify and prepare the coated specimens
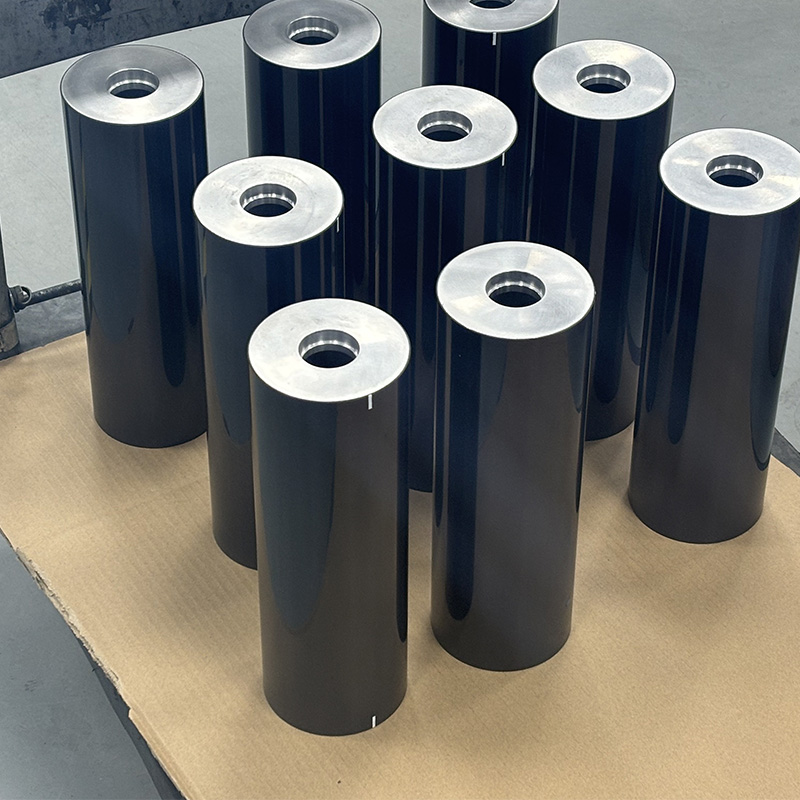
Assign an identifier to each specimen and connect it with the coating reference, substrate, preparation history and any available dimensional information. Record whether the sample is a flat coupon, a curved section or a complete component. Inspect the surface before testing and note existing marks, visible contamination or damage that could affect the interpretation.
Agree a cleaning and handling procedure with the coating supplier. Use it consistently across candidate and baseline specimens unless a documented difference is part of the comparison. Avoid touching the contact area after preparation. Record the interval between preparation and testing if that interval is controlled. A surface description without preparation history is an incomplete record of the object being evaluated.
Step 4: control contact rather than merely describing it as firm
Define the contact area, application procedure and the way pressure or load will be controlled. If a roller or pressing tool is used, document the relevant dimensions and operating method. If a manual method is sufficient for an early qualitative screen, describe it honestly and recognise the repeatability limitation. Do not report instrument-like precision for a hand-applied contact.
Decide how the adhesive will be positioned and whether overlaps, wrinkles or trapped contamination invalidate a specimen. Establish that rule before testing. Photograph the setup and retain the written procedure so another operator can repeat it. Consistency in contact preparation makes later observations easier to interpret, especially when candidate surfaces differ only modestly in the behaviour being assessed.
Step 5: define dwell and environmental conditions
State the time between applying the contacting material and separating it. Include a condition that represents a machine stop if material can remain against the surface during downtime. Distinguish that dwell exposure from the brief contact of a continuously running web. Record the temperature at a relevant location and describe how it is established or measured.
If moisture, cleaning residue or another environmental factor is part of the problem, include it in the agreed test matrix. Start with a manageable number of conditions and expand only when the first results justify it. A large matrix with inconsistent preparation is less informative than a smaller set of controlled comparisons that answer the immediate engineering question.
Step 6: standardise the separation procedure
Describe how the adhesive will be separated, including direction, angle, speed or the controlled manual motion appropriate to the screen. If force is measured, identify the instrument, range, fixture and recording method. Explain which portion of the trace will be evaluated. The peak force, a steady segment and an operator's subjective impression are different outputs and should not be mixed in one column.
Do not borrow the name of a formal standard merely because the setup resembles a peel test. Review the applicable standard and its scope with the responsible laboratory if compliance is required. For an internal screening method, name it as an internal procedure, record its revision and report the conditions. Clear method identification is more useful than an unsupported claim of standardised testing.
Step 7: inspect residue and the coating after separation
A low separation force is not the only meaningful observation. Record whether adhesive remains on the surface, where residue occurs and how it is assessed. Look for changes to the coating, the adhesive and the contacting backing. Use consistent lighting and inspection conditions for photographs so that apparent differences are not created by the camera setup.
Distinguish adhesive failure, cohesive splitting within the adhesive and visible surface damage where the evidence allows. If the mechanism is uncertain, describe the observation without forcing a conclusion. Preserve the specimens and separated material when further inspection may help. An honest unknown is preferable to assigning a cause that the available observation cannot establish.
Step 8: repeat and include the intended cleaning cycle
Agree the number of specimens and repeats needed for the screening decision. Record each result, including unsuccessful contacts or separations, and explain any exclusion. If a specimen is reused, identify the sequence so that a later observation is not mistaken for a fresh-surface result. A repeated test on one coupon and tests on several independent coupons answer different questions.
Include cleaning if the application depends on repeated release and maintenance. Document the cleaning agent, tool, method and endpoint, then reassess the surface under the same agreed conditions. Daikin Finetech's coating information distinguishes release and wear-related properties among its coating systems. That is a reason to evaluate the required combination of behaviours, not to assume one favourable release observation establishes durability.
Step 9: choose acceptance criteria before viewing the results
Acceptance may involve a measured separation result, a residue limit, an agreed visual condition or a combination of outputs. State the criteria and how disagreements will be handled before testing begins. If the first experiment is exploratory and no acceptance level exists, report it as exploratory. Use the observations to design the next trial rather than inventing a pass threshold afterward.
Compare the candidate with the defined baseline under matching conditions. Discuss variability and outliers, not only averages or selected photographs. AGC's roll-application overview identifies non-adhesiveness as relevant to roll surfaces, but a supplier's application description is not a result for your adhesive, specimen or process. Keep that distinction visible in the final recommendation.
A simple test record structure
Use one record per specimen or contact event, with fields that can be linked to the overall plan. Include the specimen identifier, coating and substrate reference, adhesive identity, preparation method, contact area, loading method, dwell, environment, separation method, measured outputs, residue observations and post-test surface condition. Add operator, date and method revision for traceability.
Attach the original force trace or other raw observations where available. Keep photographs labelled with specimen and sequence rather than names such as good sample and bad sample. Document deviations from the planned procedure. A concise record that preserves these connections is useful both when a candidate succeeds and when the team needs to investigate an unexpected result.
Moving from coupon screening to a component trial
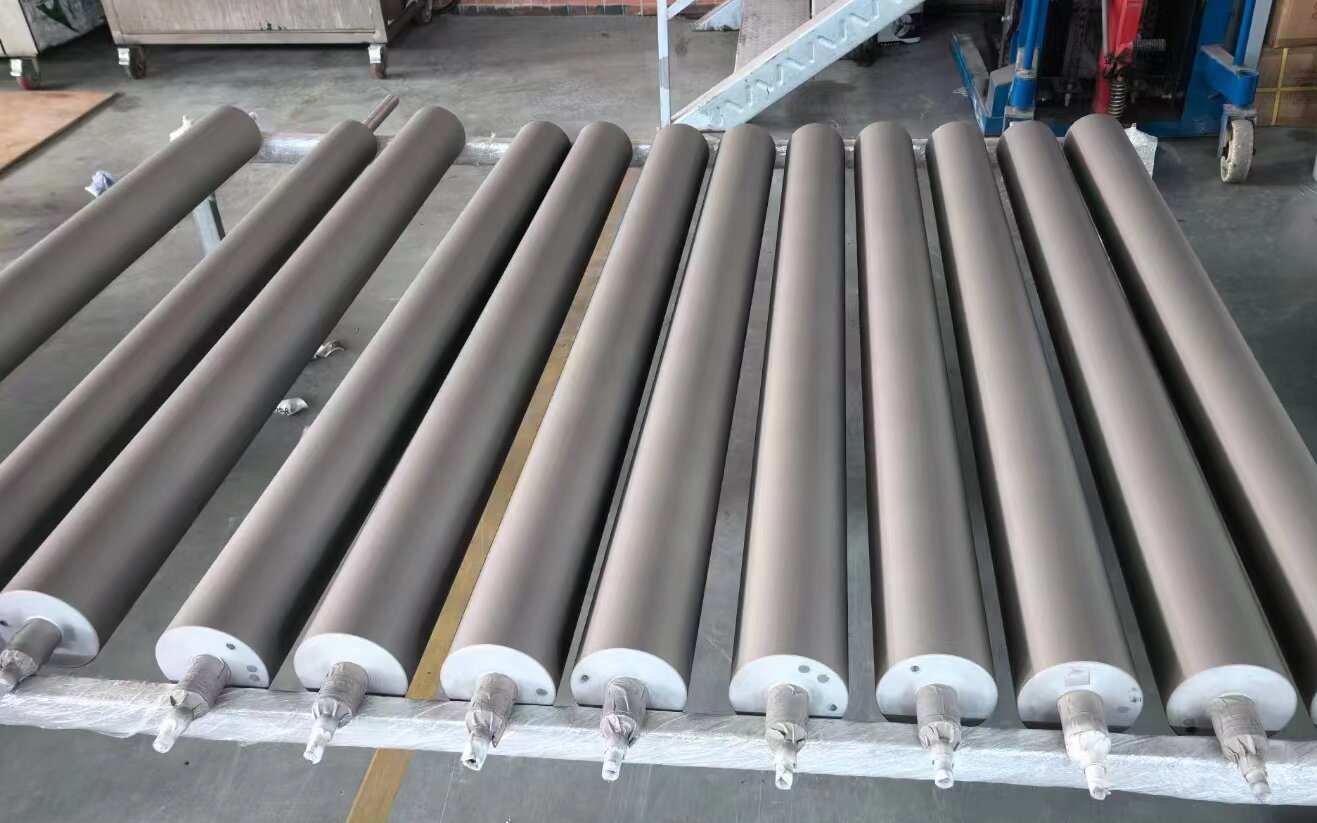
Review which operating features the coupon test did not represent. For a roller, these might include curvature, transport function, contact cycling, heating and access for cleaning. Agree the installation and monitoring scope with the machine owner. Identify a baseline, inspection interval and stop criteria before the component enters the line.
The trial report should state the specific material and conditions supported by the evidence. Avoid replacing that statement with permanent non-stick, compatible with every adhesive or a fixed lifetime unless an appropriate validation basis exists. A well-bounded result is still commercially useful: it tells the buyer which decision can be made now and what needs to be confirmed next.
Frequently asked questions
Why can a coating release one tape and retain another?
The contacting material and test conditions form part of the system being evaluated. A result with one identified tape does not establish a result with another adhesive. Repeat the agreed procedure with the production material and inspect both separation behaviour and residue before drawing an application-specific conclusion.
Can I compare two videos from different suppliers?
Videos may show useful examples, but unmatched adhesive, pressure, dwell, specimen and separation conditions prevent a controlled comparison. Ask each supplier to assess the same requirement or agree a representative trial. Use videos to clarify the demonstration setup, not as a substitute for a documented comparative test.
Should testing continue after the first successful separation?
The number of tests depends on the decision and the required confidence. One success can indicate feasibility but does not establish repeatability or durability. Agree specimen numbers and repeat conditions before testing, retain unsuccessful results, and include cleaning or component trials where the application requires them.
Send a testable coating enquiry
Review Furui anti-stick coating services and the roller selection checklist. Then share your adhesive and part requirements. Ask the team to agree the specimen, method, acceptance observations and scope of any follow-up trial. Price, sample arrangements, test availability and lead time should be confirmed for the particular project.